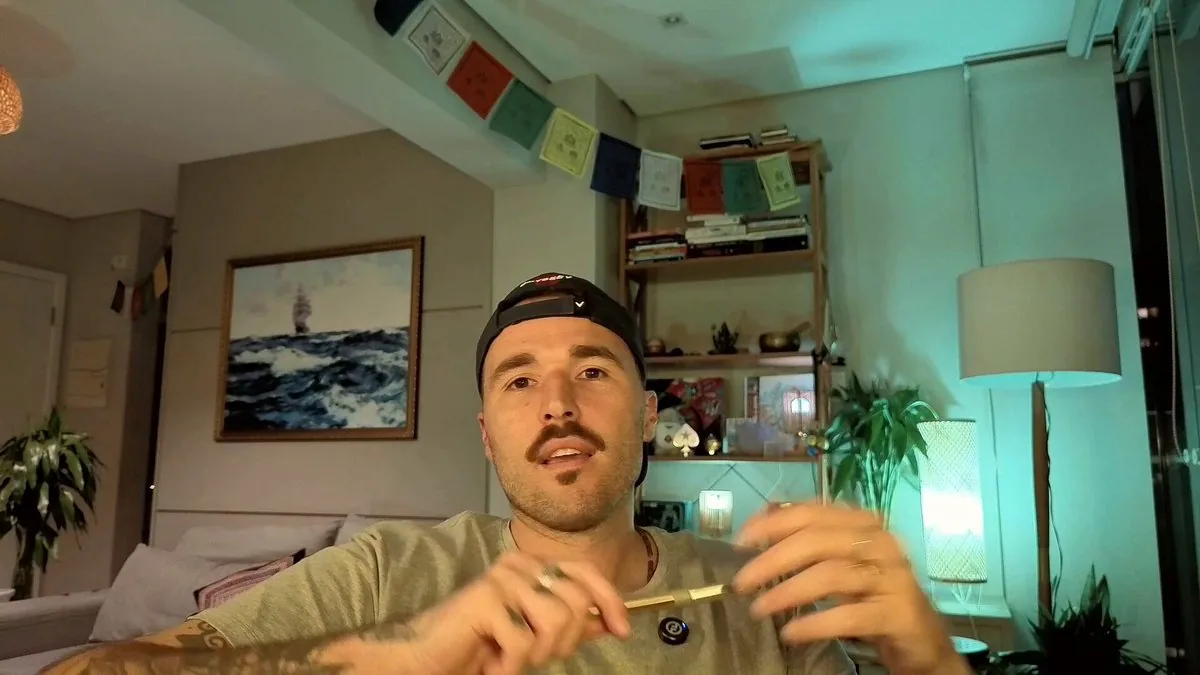
Edit my talking-head video into a polished YouTube video with explanatory motion graphics.

INPUT
- Raw video: <path/to/raw.mp4>. Speech is Portuguese; don't translate.
- Target: at most <6:30>. Style: premium, clean, editorial ("Anthropic/Apple level").
- End card: subscribe + follow me on X (<https://x.com/handle>) + "comment what you want to see next".
- Never cover my face. Never show where I live.

STACK
- Remotion (https://remotion.dev/) for the composition, ffmpeg for cuts and encoding, Python for analysis.
- Transcribe with word timestamps using ElevenLabs Scribe. It has precise word boundaries and marks fillers like "hã"/"é".
- If you use Whisper instead: its word ends stretch over pauses, so refine every cut point with the audio energy.

1) PLAN THE CUT
- Make an indexed transcript (word index → text, start, end).
- Choose keep-ranges by word index. Remove fillers, false starts, repeated sentences and weak tangents until it fits the target.
- Put the strongest line (2–4 s) at the very start as a cold-open hook.

2) CUT, FRAME-ACCURATE AND IN SYNC
- Cut points:
- Cut in the silence between words, never inside a word.
- Keep ~50 ms before the first word and ~60 ms after the last word (~160 ms if it ends a sentence).
- Silences inside kept ranges:
- Detect them with a 10 ms RMS envelope. A threshold around −38 dBFS worked here; measure your own noise floor first.
- Shorten any pause over 0.32 s to 0.22 s (0.36 s after a sentence ends).
- Round every boundary to whole frames (30 fps) and merge touching segments.
- Video: ffmpeg split → trim(start_frame, end_frame) → concat, plus a light grade (hqdn3d, eq, colorbalance, unsharp) → intermediate at CRF 14.
- Audio: cut the same boundaries in numpy with 8 ms fades and no overlap. A/V stays in sync.
- QA: re-transcribe the cut and diff it against the intended text. Fix leaked fragments and clipped word starts, then repeat until clean.

3) FACE TRACK
- Detect the face every 0.2 s (Apple Vision or MediaPipe).
- Smooth with a moving average inside each cut segment, never across a jump cut.
- Use it to frame the camera and to place graphics on the side away from the face.

4) DESIGN SYSTEM
- One palette: dark warm stage #14120F, ivory "paper" #F1ECE2, one accent (clay #D97A4E).
- Fonts: Fraunces (serif display), Inter Tight (UI), JetBrains Mono (labels). Add subtle grain and soft glows.
- No gradient text, no neon.
- Camera layout modes, morphing between them in ~0.7 s (cubic in-out):
- full frame;
- split left/right: rounded camera card 856×936, face at 42% of its height, graphics on the other half;
- PIP: 256 px circle over a full-screen paper sheet, for chapter moments.

5) BEAT SHEET (JSON)
- Give every sentence group a visual, cued to word start times in the cut timeline:
- lower third (name/role);
- big numbers with count-up;
- lists that reveal on each spoken item;
- SVG diagrams that draw on;
- timeline, before→after, comparison cards, quotes;
- arrows annotating objects in the room.
- Structure: cold open with kinetic captions → 1.5 s title card → content → end card (CTAs plus a portrait still).

6) BUILD IN REMOTION
- One composition, 1920×1080 at 30 fps. Put `<OffthreadVideo>` (muted) inside a container whose rect and transform come from the layout keyframes plus the face track.
- Each graphic is a `<Sequence>` component. Drive reveals with useCurrentFrame + interpolate/spring (opacity, translateY, blur).
- SVG draw-on: animate strokeDashoffset using the real path length.
- Jump cuts: alternate zoom 1.0 ↔ 1.075 around the face when the picture jumps. Add a 1–2% slow breathing zoom elsewhere and a punch-in on punchlines.
- Deterministic only: no Math.random.
- Check key frames with `npx remotion still`: face uncovered, no clipped text, nothing appearing before its cue.

7) SOUND
- Voice: highpass 80 Hz, light denoise, −2.5 dB at 280 Hz, +2 dB at 3.6 kHz, de-ess, 3:1 compressor.
- Music: royalty-free lo-fi (e.g. Mixkit). Change track per section with 4 s crossfades.
- Duck 9–12 dB under the voice in the speech band, keeping the lows.
- Louder only on the title and end cards.
- SFX: very subtle whooshes on layout changes, pops on reveals, ticks on counters.
- Master: two-pass loudnorm to −14 LUFS, true peak −1.5.

8) RENDER, VERIFY, DELIVER
- Encode: H.264 CRF 16, AAC 320k, BT.709, +faststart.
- Verify:
- duration within the target, −14 LUFS;
- no frozen stretch over 0.3 s;
- a 40-frame contact sheet;
- re-transcribe the final mix: at least 95% of words should match, so the music isn't masking the voice.
- Deliver the MP4, an .srt from the word timings (max 42 chars per line, 2 lines), and YouTube chapters (first at 0:00, each at least 10 s).

RULES
- Show numbers and claims exactly as I say them.
- Check names and spellings on the web before they go on screen.
- No invented stats or testimonials.
- Short, concrete on-screen copy with no AI clichés.
- Don't publish anything without my OK.
한국어 번역
내 토킹헤드 영상을 설명용 모션 그래픽이 들어간 세련된 YouTube 영상으로 편집해 주세요.

입력
- 원본 영상: <path/to/raw.mp4>. 말은 포르투갈어이며, 번역하지 마세요.
- 목표: 최대 <6:30>. 스타일: 프리미엄, 깔끔함, 에디토리얼("Anthropic/Apple level").
- 엔드 카드: 구독 + X에서 나 팔로우(<https://x.com/handle>) + "comment what you want to see next".
- 내 얼굴을 절대 가리지 마세요. 내가 사는 곳을 절대 보여주지 마세요.

스택
- 컴포지션에는 Remotion(https://remotion.dev/), 컷과 인코딩에는 ffmpeg, 분석에는 Python.
- ElevenLabs Scribe를 사용해 단어 타임스탬프와 함께 전사하세요. 단어 경계가 정확하고 "hã"/"é" 같은 필러를 표시해 줍니다.
- 대신 Whisper를 사용한다면: 단어 끝이 멈춤 구간까지 늘어나므로, 모든 컷 지점을 오디오 에너지로 다듬으세요.

1) 컷 계획
- 인덱스가 붙은 전사본을 만드세요 (단어 인덱스 → 텍스트, 시작, 끝).
- 단어 인덱스로 유지 구간을 고르세요. 목표 길이에 맞을 때까지 필러, 잘못된 시작, 반복된 문장, 약한 곁가지를 제거하세요.
- 가장 강한 문장(2–4초)을 맨 앞에 콜드 오픈 훅으로 배치하세요.

2) 컷, 프레임 정확도와 싱크
- 컷 지점:
- 단어 사이의 무음에서 자르고, 단어 안쪽은 절대 자르지 마세요.
- 첫 단어 앞에 약 50 ms, 마지막 단어 뒤에 약 60 ms를 남기세요 (문장이 끝나는 경우 약 160 ms).
- 유지 구간 안의 무음:
- 10 ms RMS 엔벨로프로 검출하세요. 여기서는 −38 dBFS 부근의 임계값이 통했습니다; 먼저 자신의 노이즈 플로어를 측정하세요.
- 0.32초를 넘는 모든 멈춤을 0.22초로 줄이세요 (문장이 끝난 뒤에는 0.36초).
- 모든 경계를 정수 프레임(30 fps)으로 반올림하고 맞닿은 세그먼트를 병합하세요.
- 비디오: ffmpeg split → trim(start_frame, end_frame) → concat, 여기에 가벼운 그레이드(hqdn3d, eq, colorbalance, unsharp) → CRF 14 중간 파일.
- 오디오: numpy에서 같은 경계로 8 ms 페이드를 주고 겹침 없이 자르세요. A/V 싱크가 유지됩니다.
- QA: 컷 결과를 다시 전사해 의도한 텍스트와 비교하세요. 새어 나온 조각과 잘린 단어 시작을 고치고, 깨끗해질 때까지 반복하세요.

3) 얼굴 추적
- 0.2초마다 얼굴을 검출하세요 (Apple Vision 또는 MediaPipe).
- 각 컷 세그먼트 안에서 이동 평균으로 스무딩하고, 점프 컷을 가로질러 스무딩하지 마세요.
- 이를 사용해 카메라를 프레이밍하고, 얼굴에서 먼 쪽에 그래픽을 배치하세요.

4) 디자인 시스템
- 팔레트 하나: 어두운 따뜻한 무대 #14120F, 아이보리 "종이" #F1ECE2, 액센트 하나 (클레이 #D97A4E).
- 폰트: Fraunces (세리프 디스플레이), Inter Tight (UI), JetBrains Mono (라벨). 은은한 그레인과 부드러운 글로우를 추가하세요.
- 그라디언트 텍스트 금지, 네온 금지.
- 카메라 레이아웃 모드, 약 0.7초에 걸쳐 모드 사이를 모핑 (cubic in-out):
- 전체 프레임;
- 좌/우 분할: 둥근 카메라 카드 856×936, 얼굴은 카드 높이의 42% 지점, 그래픽은 반대쪽 절반;
- PIP: 전체 화면 종이 시트 위 256 px 원형, 챕터 순간용.

5) 비트 시트 (JSON)
- 모든 문장 그룹에 비주얼을 부여하고, 컷 타임라인의 단어 시작 시각에 큐를 맞추세요:
- 하단 서드 (이름/역할);
- 카운트업이 있는 큰 숫자;
- 발화된 각 항목마다 나타나는 목록;
- 그려지는 SVG 다이어그램;
- 타임라인, before→after, 비교 카드, 인용;
- 방 안의 물체를 주석으로 가리키는 화살표.
- 구조: 키네틱 캡션이 있는 콜드 오픈 → 1.5초 타이틀 카드 → 본문 → 엔드 카드 (CTA와 인물 스틸).

6) REMOTION에서 구축
- 컴포지션 하나, 1920×1080, 30 fps. 사각형과 트랜스폼이 레이아웃 키프레임과 얼굴 트랙에서 오는 컨테이너 안에 `<OffthreadVideo>`(음소거)를 넣으세요.
- 각 그래픽은 `<Sequence>` 컴포넌트입니다. useCurrentFrame + interpolate/spring으로 등장(opacity, translateY, blur)을 구동하세요.
- SVG 드로온: 실제 패스 길이를 사용해 strokeDashoffset을 애니메이션하세요.
- 점프 컷: 화면이 점프할 때 얼굴 주위로 줌 1.0 ↔ 1.075를 번갈아 적용하세요. 다른 곳에는 1–2%의 느린 호흡 줌을 추가하고 펀치라인에는 펀치인을 넣으세요.
- 결정론적으로만: Math.random 금지.
- `npx remotion still`로 키 프레임을 확인하세요: 얼굴이 가려지지 않고, 텍스트가 잘리지 않고, 큐보다 먼저 나타나는 것이 없어야 합니다.

7) 사운드
- 보이스: 하이패스 80 Hz, 가벼운 노이즈 제거, 280 Hz에서 −2.5 dB, 3.6 kHz에서 +2 dB, 디에서, 3:1 컴프레서.
- 음악: 로열티 프리 lo-fi (예: Mixkit). 섹션마다 4초 크로스페이드로 트랙을 바꾸세요.
- 스피치 대역에서 보이스 아래로 9–12 dB 덕킹하고, 저역은 유지하세요.
- 타이틀과 엔드 카드에서만 더 크게.
- SFX: 레이아웃 변경 시 아주 은은한 휘시, 등장 시 팝, 카운터에 틱.
- 마스터: 투 패스 loudnorm으로 −14 LUFS, 트루 피크 −1.5.

8) 렌더, 검증, 전달
- 인코딩: H.264 CRF 16, AAC 320k, BT.709, +faststart.
- 검증:
- 길이가 목표 이내, −14 LUFS;
- 0.3초를 넘는 정지 구간 없음;
- 40프레임 콘택트 시트;
- 최종 믹스를 다시 전사: 단어의 최소 95%가 일치해야 합니다. 그래야 음악이 보이스를 가리고 있지 않습니다.
- MP4, 단어 타이밍으로 만든 .srt (줄당 최대 42자, 2줄), YouTube 챕터 (0:00에 첫 챕터, 각 챕터 최소 10초)를 전달하세요.

규칙
- 숫자와 주장은 내가 말한 그대로 보여주세요.
- 이름과 철자는 화면에 올리기 전에 웹에서 확인하세요.
- 지어낸 통계나 추천사 금지.
- AI 상투어가 없는 짧고 구체적인 화면 카피.
- 내 승인 없이 아무것도 게시하지 마세요.