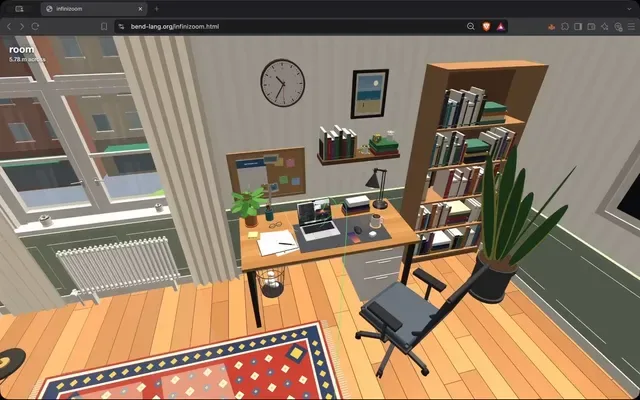
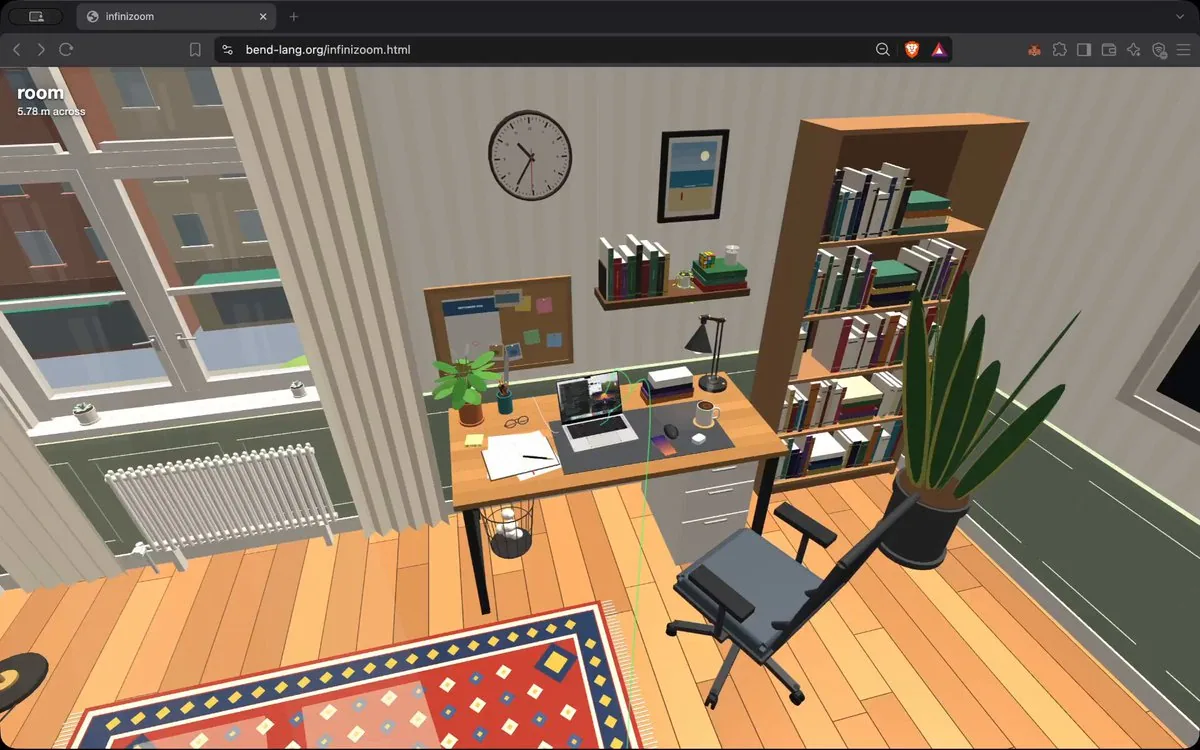
INFINIZOOM

Build infinizoom: a procedural infinite-zoom world. The deliverable is a
self-contained BunJS project. Running `bun run server` must build and serve it
(wire up the corresponding "server" script in package.json). Three local assets
exist in this directory and must be used: ./macbook_interior.png (a real MacBook
Pro teardown photo), ./apple_m4_scheme.png (Apple's M4 die floorplan diagram),
and ./wallpaper.jpg (a 1920×1200 desktop wallpaper photo). Load the wallpaper
from this local file — never fetch content from external servers (the sole
exception: three.js itself may be imported from a CDN by URL).

The world

A single 3D world is traveled indefinitely along a fixed camera track that zooms
through these levels:

Main route: a room → a desk → a MacBook Pro → inside the chassis → the logic
board → the Apple M4 package → the M4 die → a performance core → an integer ALU
block → a standard logic cell → a FinFET transistor → a material cross-section
inside the fin → the silicon crystal lattice → one unit cell → an atom → its
nucleus → a nucleon → a quark. Logic gates and circuits (AND, OR, etc.) should
be animated as it computes.

Screen branch: exactly one bifurcation, hovering above the MacBook. Choosing the
other side dives into the display instead: the screen → the display panel →
pixel tiles → a pixel block → one pixel → its R/G/B sub-pixel LEDs → the
emissive layer → an emitter molecule → and converges to the same atom → nucleus
→ nucleon → quark tail. The leds must be accurate: 1-to-1 mapping from screen
pixels to leds, and their colors must match the color of that pixel. The screen
is animated and the LEDs are updated to match the animation in real time.

Riding the track forward IS zooming in; riding backward is zooming out. The
design must extend additively: adding a new structure = one render function +
one call in its parent; adding a bifurcation = one more route; a future backward
extension (t < 0: out the window → city → planet → universe) must require only
prepending track levels. A time parameter must be threaded through everything so
all animation stays possible at any depth.

Architecture (hard constraints)

- Mutable state is EXACTLY: one float t (position along the track), one branch
  bitstring (0 = left/A, 1 = right/D; a bit is pushed when passing a fork and
  popped when backing out below it), and raw input (keys held, mouse position).
  Every frame is a pure function of (t, branches, raw input, wall-clock time).
  No other state — no scene graph, no node objects, no stored world data, no
  caches of world structure.
- Renderers are pure functions that call their children directly: render_room()
  calls render_desk() calls render_macbook() … down to render_quark(). No
  dispatch layer, no classes. The call stack is the scene traversal.
- Scale-space warping via local unit frames: floats cannot hold meters and
  femtometers at once, so every renderer works in its own ~unit-sized local
  frame, and the camera is re-expressed into each child frame. Geometry math is
  done camera-relative in doubles, cast to float only at the very end, so the
  picture is artifact-free across all ~17 decades of scale. The exact same
  layout constants must place structures for rendering AND author the track —
  one source of truth, or the camera drifts visibly off the line.
- Immediate-mode rendering over three.js: every frame, the recursion emits
  primitives into instanced pools; three.js is only a rasterizer. Nothing
  off-screen or sub-pixel is emitted or recursed into.

The track and the camera

- Speed: fast. The whole main ride should take roughly 20 seconds, with a
  comfortable, constant-feeling time per level (exponential zoom feel) and
  gentle easing near the fork and the track ends.
- Shape: gently curved arcs. Not wandering, roundabout, or random-direction —
  but also NOT dead-straight rays. Soft, purposeful curves.
- The green line: the track is always visible in-scene as a translucent green
  line. It must be an infinitesimal line: ~2 pixels wide on screen at EVERY
  distance, implemented as a true GL line primitive (not tubes, not rods, not
  meshes of any kind), transparent (never rock-solid), and it must NEVER grow
  wider as it approaches or passes the camera — it is literally a path line,
  visible both near and far.
- The camera must never look at nothing. At every instant of the ride the view
  must be filled with structure. Concretely: every level approach is a diagonal
  glide (roughly 45°) over the parent surface — never a low horizontal skim
  (which puts empty void in the upper half of the screen) and never a
  straight-down drop (which degenerates the camera roll). Every level must
  render rich, non-uniform content at the distance where the camera arrives —
  never a flat gray plate.
- Dive points land dead-center inside meaningful sub-structures. The line must
  enter the CENTER of one of the small colored squares (a specific core on the
  die, a specific block in the core, a specific pixel on the screen) — never a
  border, edge, gap, seam, or gray filler zone. The boundary transitions between
  levels (e.g. performance core → integer ALU block, "100 µm across") must be
  scrutinized: the camera must be looking at detailed structure the whole way
  through.
- Occlusion never pops: every shell the camera is about to pierce (the keyboard
  deck, the transistor's gate, the LED's cathode, the screen's cover glass…)
  fades away smoothly as a pure function of t shortly before the camera reaches
  it, and fades back identically when riding out.

Controls and HUD

- W rides deeper, S rides back.
- At the bifurcation: a big translucent ‹ on the left edge and › on the right
  edge of the screen, each labeled with its key (A / D), with the currently
  selected side highlighted/glowing. No sentence-style instruction text.
- Mouse moves the glance direction with a full 360° range — the rider can look
  all the way around, including behind.
- A title at the top-left always names where we are right now (e.g. "performance
  core") together with the current physical scale ("3.2 mm across").

Content — fidelity and density

Everything must be densely detailed — think "10× more detail than feels
sufficient" — and hiding must be un-aggressive: distant and peripheral objects
stay visible; more detail is always preferred over less. Everything plausible
must be animated and alive.

- The room and desk: a believable day-lit room (window, curtains, floor, walls,
  shelf, chair, door, rug, a wall clock whose hands actually run, lamps, cables)
  and a believable desk (the MacBook, a potted plant, paper, a mug, books,
  phone, pens…).
- The MacBook exterior: correct proportions, full keyboard with per-key legends,
  trackpad, ports, hinge, screen bezel with notch and camera.
- The MacBook interior: there are many components inside a MacBook — reproduce
  them in pixel-perfect locations matching ./macbook_interior.png: the two fans
  (with visibly SPINNING, clearly readable impeller blades — use few chunky
  blades, not a dense blur), the S-curved heat pipe and heat spreader, the black
  logic board carpeted in passives with EMI shields and chips, the antenna bar
  along the hinge, side port boards, the 4-corner + 2-tall-center battery cell
  layout with printed labels, aluminum struts, the trackpad flex cable running
  down the middle to its gold connector, the flanking speakers, tape, thermal
  pads, screws — all of it.
- The M4 die: block placement faithful to ./apple_m4_scheme.png (4 P-cores +
  shared L2, 6 E-cores + L2, 10 GPU cores, 16 Neural Engine cores, SLC,
  media/display engines, ISP, Secure Enclave, memory PHYs on the edges), with no
  bare/gray substrate anywhere — every area is a labeled block, and blocks show
  interior sub-structure at every intermediate zoom. The CPU interior (core
  floorplan: caches, decoders, schedulers, ALUs, FP units, register files…) must
  be greatly detailed, not a few flat rectangles.
- Digital circuits doing operations — explicitly a top-priority feature: the
  zoom must pass through logic that is visibly COMPUTING. Standard cells are
  real gates (AND/OR/NAND/NOR/XOR/NOT): their input nets carry live 0/1 signals
  (bright = 1, dark = 0), their output is the actual boolean function of the
  inputs, pulses race along wires when gates switch, and whole logic blocks
  twinkle with switching activity at every zoom level.
- Animated electronic simulation: the FinFET's gate runs a live drive waveform,
  and while it is open, charge carriers visibly flow from source to drain.
  Continue through real materials: gate oxide, dopants, the diamond-cubic
  silicon lattice at its true 0.543 nm pitch, into atoms with orbiting
  electrons, a nucleus with protons/neutrons and an animated gluon field, down
  to quarks.
- The screen must be REAL: a real image at real MacBook-panel fidelity — the
  bundled ./wallpaper.jpg photo as the desktop background, with a procedurally
  drawn OS on top (menu bar, dock with recognizable icons, overlapping
  application windows: a code editor with syntax-colored lines, a file browser,
  a terminal with a blinking cursor, and a video window that visibly plays,
  animating at full frame rate). Never a mosaic of colored squares. All levels
  of the screen (full panel → tiles → pixels → sub-pixel brightness) must sample
  the SAME image function so content never changes across zoom, and detail must
  increase strictly monotonically as the camera approaches — at no zoom distance
  may the screen become LESS detailed than it was a moment before.
- The sub-pixel LEDs: each LED is lit by the ACTUAL channel value of the
  on-screen image at that exact pixel — realistic and accurate, not default
  colors. Because the screen animates, the LEDs visibly CHANGE color over time.
  The dive targets a pixel inside the playing video, where R, G and B clearly
  differ from each other and keep changing. Inside, an LED is not a solid: model
  the full OLED stack — the TFT drive circuit with its data/scan lines and
  storage capacitor, the reflective anode, transport layers, the emission layer,
  the semi-transparent cathode, auxiliary wiring, spacers, encapsulation — with
  a live simulation: holes drift up, electrons drift down, they recombine in the
  emission layer with a flash, and photons fly up and out. Below that, the
  emissive layer resolves into a molecular film, then a single emitter molecule
  built of real atoms, joining the shared atomic tail.

Visual-quality laws

- Nothing ever pops, flickers, or z-fights — anywhere, at any scale, moving in
  either direction. In particular: never emit overlapping coplanar surfaces or
  nested coincident translucent volumes; and any material exempted from fog
  (emissive screens, glass, glow) must still be manually distance-faded and
  culled, or shells belonging to enclosing structures will haunt the camera at
  deep zooms as giant flickering planes.
- All LOD transitions are smooth morphs or strictly-finer refinements of
  identical content — never a swap to something coarser, blurrier, or
  differently colored.
- Spinning/periodic animations must be tuned to be perceptible (no temporal
  aliasing that freezes or scrambles them).
- Runs at 60 fps.

Code Quality

Ensure your implementation is concise, minimal, elegant. Use pure functions as
much as possible. Keep it very Haskell-like, even though it is TypeScript. Most
of the complexity of the function comes from the different objects that are
rendered, and each object is a render function. Each renderable object must live
in its own file at src/render/<name>.ts — that directory is the one that scales
as we add more renderables. Organize the project such that it can scale by just
adding more render functions/files under src/render/. Avoid unnecessary
complexity.