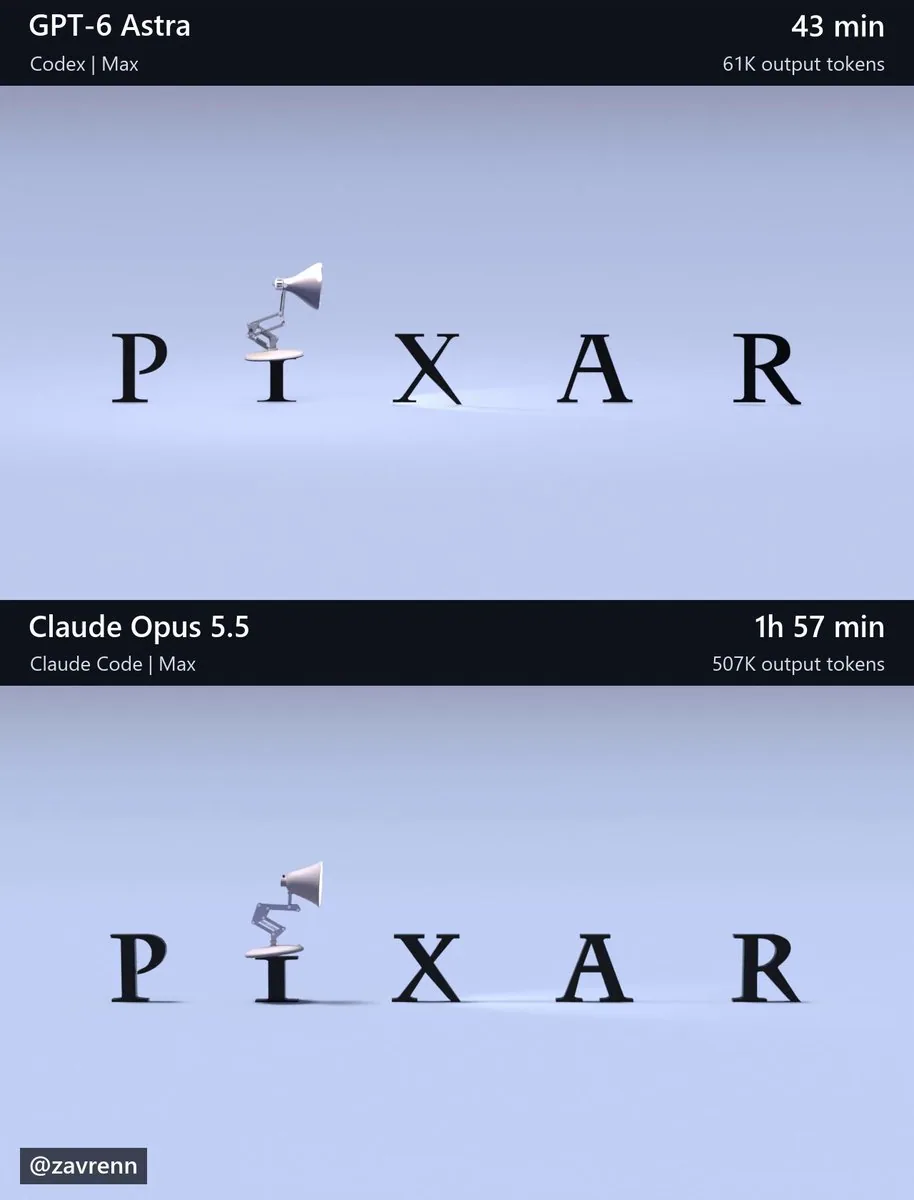
Create a finished, editable Blender recreation of the six-second animation shown in this workspace’s reference/t\_\*.png images.

Open and inspect the reference images before building. Their filenames give seconds from the start of the animation: t\_1.20s.png means 1.20 seconds. Use these images as the visual reference and leave them unchanged.

Match the complete composition: the lamp’s proportions and articulated structure, lettering, interactions, camera framing, materials, lighting, shadows, and final fade. Pay particular attention to jump timing, preparation, landings, settling, and head turns. Preserve the reference’s stylized motion and create coherent movement between the sampled poses. Make reasonable choices for unseen details.

Build genuine 3D geometry and animation that remain editable. Keep joints connected and contact believable. Do not substitute reference images or footage for geometry, textures, backgrounds, or rendered output. Create the assets yourself using installed tools; do not download assets, browse the web, or use other AI agents or models.

Blender is installed at:
C:\Program Files\Blender Foundation\Blender 5.2\blender.exe

Prepare the final scene at 1280×720, 30 fps, frames 1–180, with frame 1 representing time zero. Use Cycles, 64 samples, and denoising. Preserve the reference lettering; add no extra titles, watermarks, interface, comparison layout, or audio.

Render and visually inspect low-resolution previews across the action, including between reference timestamps. Correct visible problems and recheck affected frames. We will render the final video separately.

Save scene.blend with the final render settings and a build\_scene.py that rebuilds it from scratch. The saved scene must render without external asset dependencies. Verify that it opens and renders in background mode.

Work autonomously through completion, making routine decisions yourself. Finish with a brief report of the saved files, checks actually performed, and remaining limitations.
한국어 번역
이 워크스페이스의 reference/t\_\*.png 이미지에 나오는 6초 애니메이션을 완성도 있고 편집 가능한 Blender 재현물로 만드세요.

만들기 전에 참고 이미지를 열어 확인하세요. 파일명은 애니메이션 시작부터의 초를 나타냅니다: t\_1.20s.png는 1.20초를 의미합니다. 이 이미지를 시각적 참고로 사용하고 변경하지 마세요.

전체 구도를 일치시키세요: 램프의 비율과 관절 구조, 레터링, 상호작용, 카메라 프레이밍, 재질, 조명, 그림자, 마지막 페이드까지. 특히 점프 타이밍, 준비 동작, 착지, 안정화, 고개 돌림에 주의하세요. 참고 영상의 양식화된 움직임을 유지하고 샘플된 포즈 사이에 일관된 동작을 만드세요. 보이지 않는 세부 사항은 합리적으로 판단하세요.

편집 가능한 실제 3D 지오메트리와 애니메이션을 만드세요. 관절이 연결된 상태와 접촉이 사실감 있게 유지되게 하세요. 지오메트리, 텍스처, 배경, 렌더 출력을 참고 이미지나 촬영 영상으로 대체하지 마세요. 설치된 도구로 에셋을 직접 만드세요; 에셋을 다운로드하거나 웹을 탐색하거나 다른 AI 에이전트나 모델을 사용하지 마세요.

Blender는 다음 위치에 설치되어 있습니다:
C:\Program Files\Blender Foundation\Blender 5.2\blender.exe

최종 장면을 1280×720, 30 fps, 프레임 1–180으로 준비하고, 프레임 1이 시간 0을 나타내게 하세요. Cycles, 64 샘플, 디노이징을 사용하세요. 참고 영상의 레터링을 유지하고; 추가 타이틀, 워터마크, 인터페이스, 비교 레이아웃, 오디오를 넣지 마세요.

액션 전반에 걸쳐, 참고 타임스탬프 사이 구간도 포함해 저해상도 프리뷰를 렌더링하고 눈으로 확인하세요. 보이는 문제를 수정하고 해당 프레임을 다시 확인하세요. 최종 영상은 우리가 따로 렌더링합니다.

최종 렌더 설정이 담긴 scene.blend와, 장면을 처음부터 다시 만드는 build\_scene.py를 저장하세요. 저장된 장면은 외부 에셋 의존 없이 렌더링되어야 합니다. 백그라운드 모드에서 열리고 렌더링되는지 확인하세요.

스스로 일상적인 결정을 내리며 끝까지 자율적으로 작업하세요. 저장한 파일, 실제로 수행한 검사, 남은 제한 사항을 간단히 보고하며 마무리하세요.